Divi Filterable Gallery module for Divi Builder is a highly versatile and dynamic gallery tool designed to enhance your Divi websites’ visual presentation. This module offers constantly expanding features that empower you to create stunning galleries and showcase your content visually and engagingly.
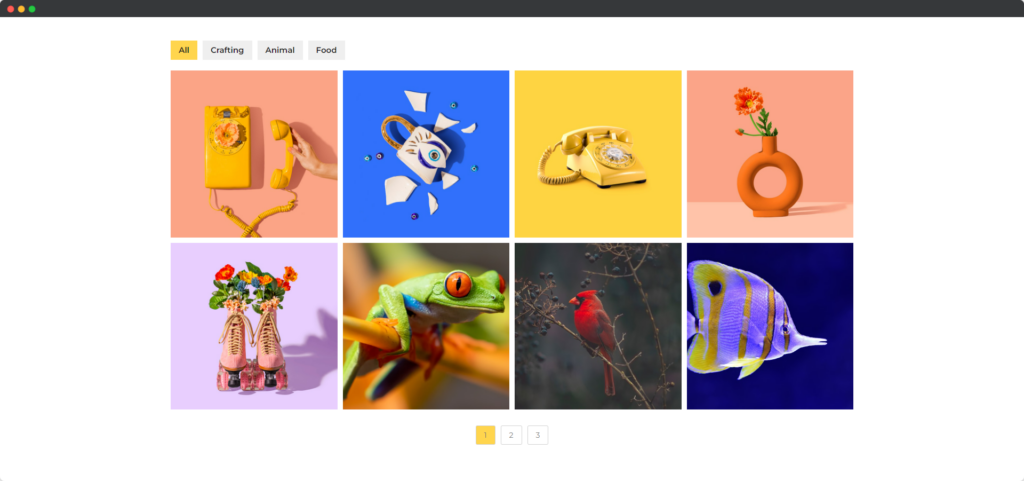
Live Demo of the Filterable Gallery module.
Intro Video
Divi Filterable Gallery
Video Tutorial
How Filterable Gallery Module Works
Design Filterable Gallery Module
Make a Filterable Gallery
Please follow the steps below to make a filterable gallery:
Set Tags for Images
The tag names set to images will display as Filter Tabs.
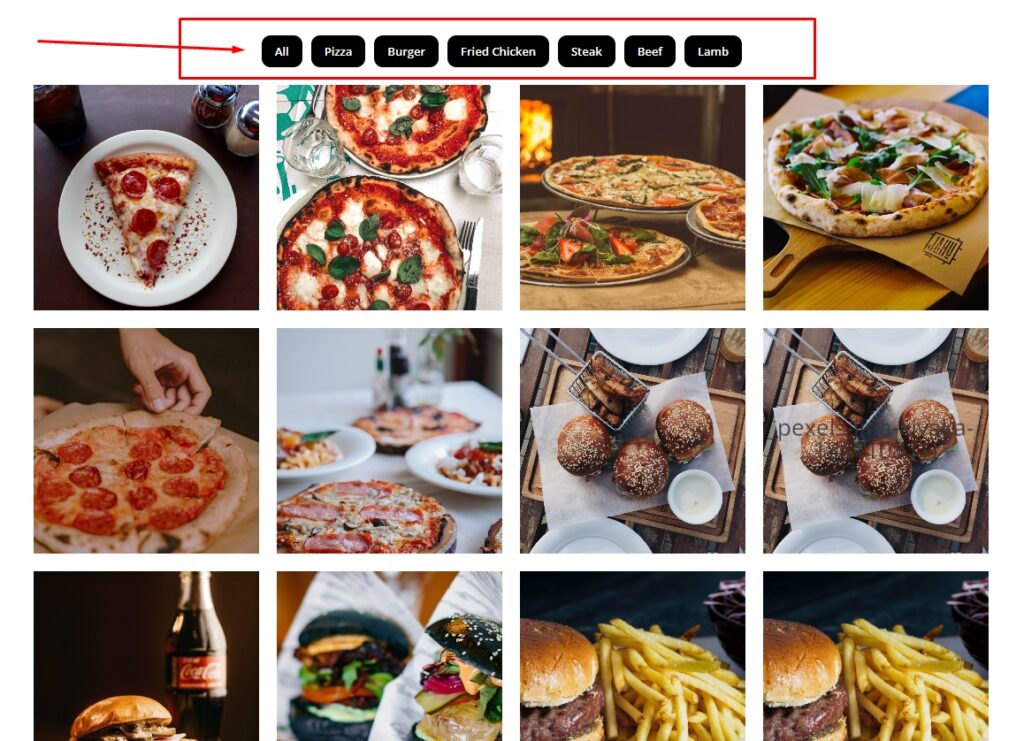
Tags can be assigned to images while adding them to the Pro Gallery module. Here are the steps –
STEP 1 – Select an image from the WP Media Library.
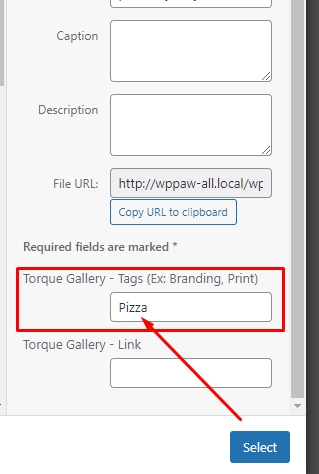
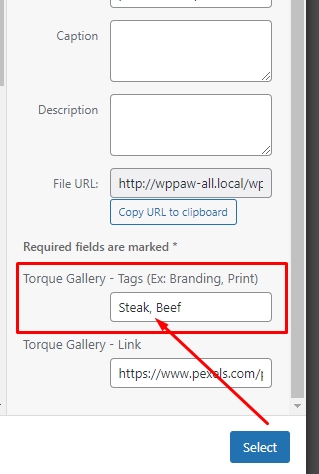
STEP 2 – The Torque Gallery Tags option will appear in the media information column on the right side.
You can add more than one tag separated by a comma. Example – If image X has been assigned to tags PRINT and DESIGN. At the same time, image Y has been posted to tags BRANDING and WEB. Then Filter tabs will automatically display all 4 titles. Clicking on any of the tabs will display related images.
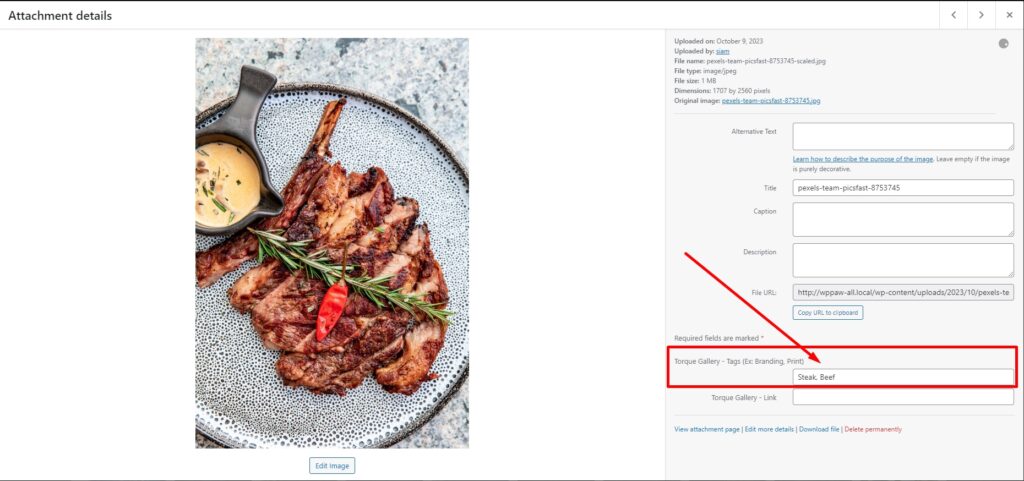
Single Tag
Multiple Tag By Comma
Add Images to the Gallery
- Click Module Settings.
- Click the Content tab, then click General.
- Click “Add Gallery images”, and select images. Or upload images.
- Set the “Image Size” value to Medium, Medium Large, Large, or Full.
- Go to the “Gallery Layout” and select Gallery Type to Grid Or Masonry.
NOTE: Opting for the “Thumbnail” setting will display the most optimized images, allowing you to identify the presence of low-quality images within the gallery.
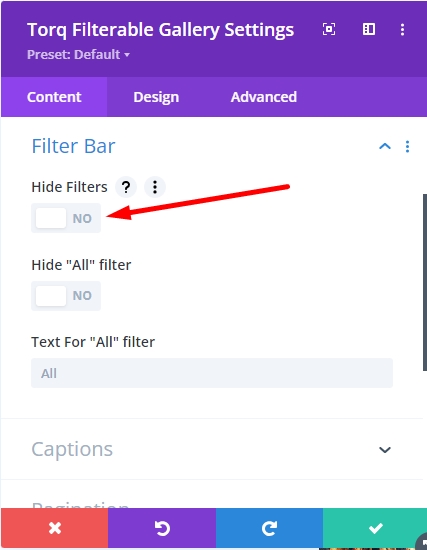
Disable the Hide Filters option
If you enable “Hide Filter” the images’ tags will not show in the gallery. So make sure that you disable the hide filter option.
Make the Gallery Responsive
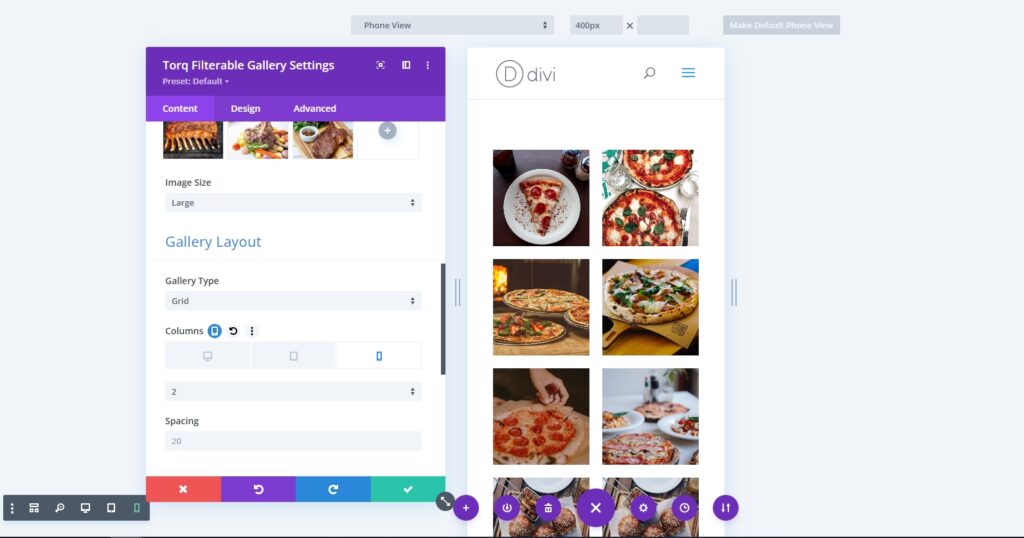
- Follow this path Content > General > Gallery Layout and hover over the “Columns” option.
- A mobile icon will appear, click the mobile icon and set columns’ values for the different devices.
Lightbox & Links
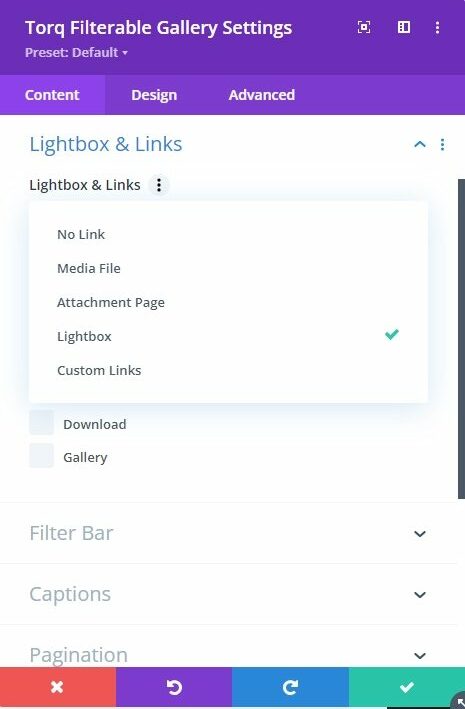
- Follow this path: Content > Lightbox & Links
- Here you will find multiple options, select whatever you achieve
- Here you will find multiple options, select whatever you achieve
– No Link
– Media File
– Attachment Page
– Lightbox
– Custom Link (You have set the link on Media Libary)
Features in Lightbox
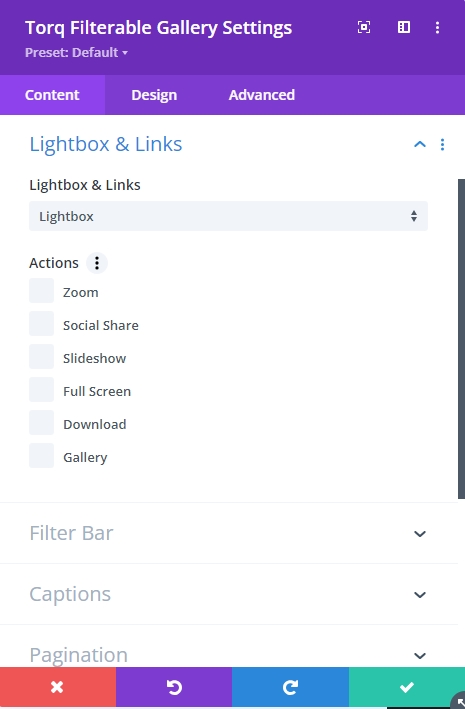
Follow this path: Content > Lightbox & Link
Select “Lightbox” for the following features:
- Zoom
- Social Share
- Slideshow
- Full Screen
- Download
- Gallery
Disable Lightbox & Links
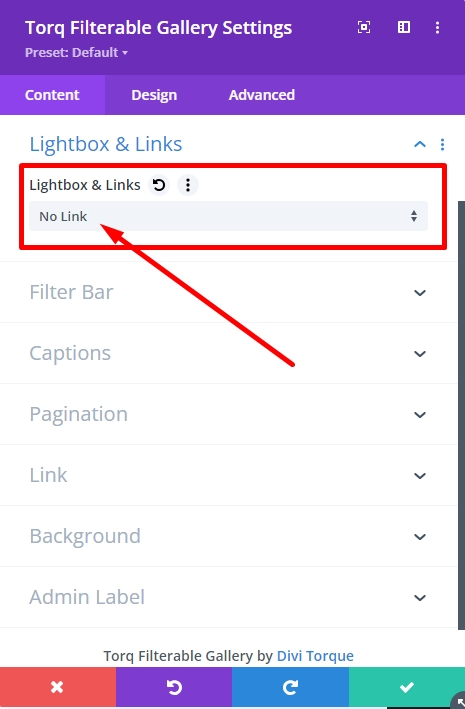
Note: If you do not want the lightbox and links feature.
- Follow this path Content > Lightbox & Link
- Set the value for “Lightbox & Link” as “No Link”
Hide Filters
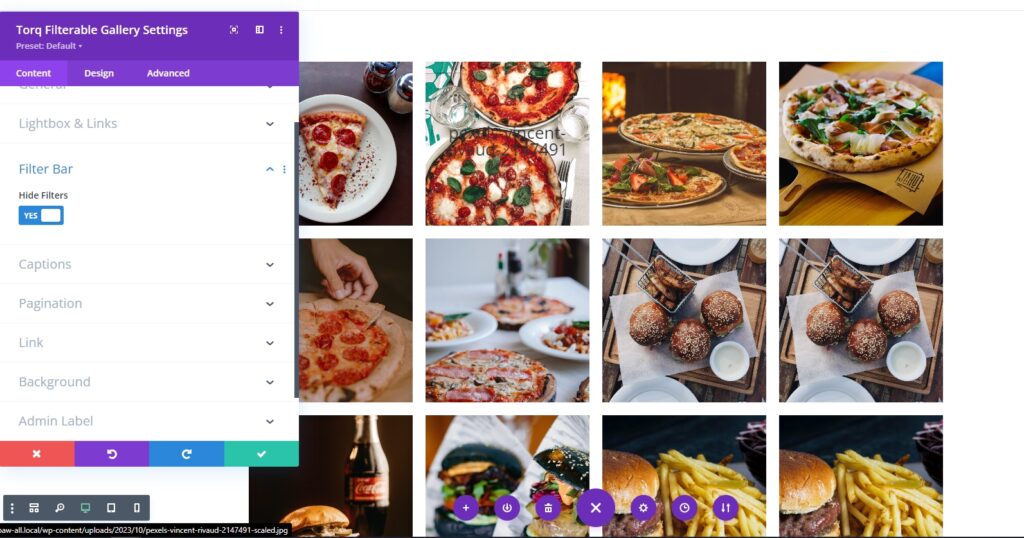
Note: If you do want to show the filter tags.
- Follow this path Content > Filter Bar
- Set “YES” for the “Hide Filters” toggle button.
- It will also hide the default filter “All”.
Show or Hide: Captions, Title & Description
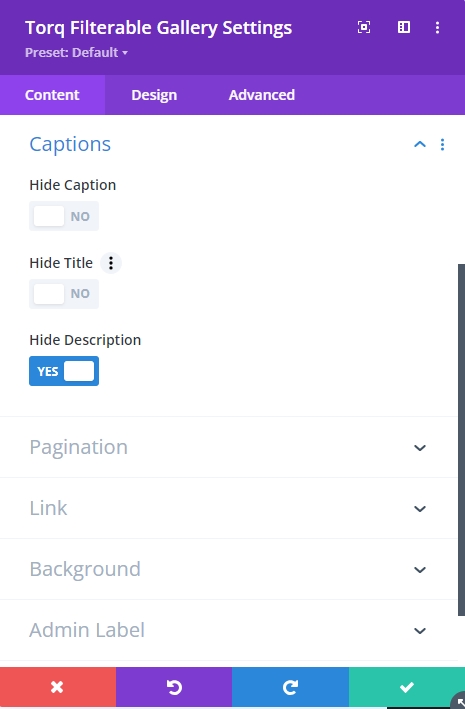
- Follow this path Content > Captions
- By default, this module shows captions and titles.
- Set “YES” for the “Hide Caption” toggle button. It will hide the title and description.
- Set “YES” for the “HideTtile” toggle button. It will only hide the image titles.
- Set “YES” for the “Hide Description” toggle button. It will only hide the image description.
